Most Scrumptious Cake Balls Ever - Tempting Tuesday

I am so excited to share these. I don't usually refer to food as being cute or adorable, but these cake balls I made speak for themselves. Here are a few of them.

And, here they all are in all their glory.


And, I even picked a favorite one and I just have to show him off. He just makes me smile.


I originally got the idea for these from Family Circle Magazine. Cake balls are supposed to be a big trend right now, but trendy or not I can tell you that these are super duper yummy. They are like a cross between cake , candy, and the most delicious donut hole ever. 

If you want to make them, all you need is:
  • a cake mix (and the stuff you add to that)
  • a container of frosting (1 cup to be exact)
  • Wilton candy melts (or any generic brand- they are candy that you can melt and then it gets hard when it cools)
  • icing or sprinkles to decorate your cake balls
  • i also used wax paper to lay them out on after dipping
Start by baking your cake and letting it cool. Once its all cool, you crumble it in little pieces, add a cup of the frosting and mix it all together really well. I used my hands to do that part. Then, roll the cake mix into little balls. I made mine about the size of a golf ball, but I think a little smaller might be better. After you have them all rolled, stick them in the freezer till they get hardened.

Once they are hard, melt the candies according to the package instructions. I microwaved at 30 second intervals at 50% power. You can add a little oil to make it smoother and you can add food coloring to make them look the color you want. Then dip the balls and let them harden to pipe on decorations or you could go ahead and put sprinkles on them and call it a day. Either way, they will be cute and deeeelicious. I made these when family came to visit, and they were definitely a hit for everyone, ages 6 to 60 :)


Please, link up your recipes that you would like to share below and feel free to link back to me if you would like.

Linking to:



Halloween Mummy Tutorial Using Stuff Around the House

I keep seeing mummies all around blog land and I thought I'd try my hand at making a little mummy candy holder. I really like decorations that are more cute and nice instead of nasty or whatever. 
 This one is made from a water bottle, an old white undershirt and some googley eyes. Its pretty cute to set out with your pumpkins or whatever on the counter filled up with some candy and it definitely doesn't look like its made from stuff you just had laying around the house :) And, I could totally picture making this using a big old coffee container so it would be like a huge mummy bowl.

First, cut the top off of your bottle using a box cutter or knife.
Now get that old tee shirt and cut the bottom off. Then cut around the shirt making one long strip. My strip was about 85 inches long and about an inch wide and I hardly used any of the shirt at all. I used pinking sheers because I thought it would add more interest. Now eat a few handfuls of candy corn.


Start at the bottom and put dabs of glue and just work your way up the container. I used hot glue gun because I want instant gratification but you could easily use regular glue. Decide where you want your eyes to go before you get too far up the bottle.

Cut a little bit of the fabric and glue a strip where the eyes will go and then glue on the eyes. Now just work your way around the rest of the bottle.

Get some candy corn or whatever candy and fill up the container. Eat some more for good measure.  Now you can sit back and admire your freebie creation, or go on a house cleaning spree from your candy corn sugar high :) Enjoy your weekend everyone! Its finally starting to feel like fall!

Linking to:
Under the Table and Dreaming

A Childs Gift from the Heart

I know we all have that person that has everything and its so hard to find something that won't just be more clutter around the house. I always like to give gifts from the heart.  This idea is a super simple idea to say I love you to that special someone. All you need is are fabric markers and a canvas tote bag and a cute kid :)  Let your little artist have carte blanche and your gift recipient is sure to treasure it.


Healthy and Delicious Chicken Salad

I love chicken salad, but most of the recipes are so bad for you. Over the years I've combined several of my favorite recipes to come up with a healthy chicken salad recipe.  It is so so good! I could sit there and eat it right out of the bowl. Not that I ever have... :)


What you need:

  • 1 or 2 cooked chicken breasts

  • start with 2 Tablespoons olive oil mayo (full of the healthy fats that are good for you) ,but adjust to your tastes

  • spoonful of sweet pickle relish

  • an apple

  • 2/3 cup of your favorite nuts ( I like walnuts, pecans or almonds)

  • 1/2 stalk of celery

  • 2/3 cup grapes or raisins

This time of year there are so many delicious apples to use, just pick your favorite variety for your salad.


Dice and chop up the apples, chicken, celery, nuts and grapes. Mix everything together and chill for a few hours before serving. You can serve it right after making it but it just tastes a little better chilled. Enjoy!! Do you have any yummy and nutritious recipes to share? I am always looking for new recipes.


Linking to:

My Halloween Luminaries Featured!

My Pottery Barn Inspired Luminaries were featured on the awesome blog called Under the Table and Dreaming- what a cute blog name! 
Go check out Stephanie's blog here and there are lots of amazing fall decorating ideas.

UndertheTableandDreaming


Pottery Barn Inspired Halloween Luminaries

I was thumbing through a magazine the other day when I saw these cute little Pottery Barn  battery operated luminaries from Pottery Barn Kids. I can't find them on line, but let me tell you that they are caautte! But, they start at $8 each!!! So, I decided to make my own. And, here they are! I am so pleased with how they turned out!


All I used were old food jars from peanut butter, jelly or canning, tiny tea candles (or your could even use those little battery operated luminaries that are like 2 or 3 for a dollar at $ Tree). Then, I made and found some images and printed them out and cut them to fit my glass jars. Then tape or glue it in place on the back and enjoy your FREE luminaries. If anyone wants them I will try to see if I can upload the images I made for you all to print and use. Or, I'm sure you could easily find your own too.

Here are the images:


Parties I'm linking to:
Today's Creative Blog
DIY Showoff
I Heart Naptime
Under the Table Dreaming
Its So Very Cheri

Thrifty Find...Love @First sight

Today I headed out to a regular thrifty corner store chock full of antiques, yard sale rejects and miscellaneous junk spot that I love to visit, and then I spotted this beautiful tabletop greenhouse terrarium.  Score! I was able to get it for only $5!!!! Now my mind is just spinning thinking of what I will put in here. What would you put in there? Also please share links to your thrifty finds. I love seeing everyone's finds!
Have a great weekend!

Anthropologie Inspired Headband Tutorial

Katie over at Bower Power made this awesome flower headband. It is so cute and so simple to make.

So head over and check out her tutorial and make on for yourself!

Simple, Chic Upholstered Headboard

We all have a budget these days and our old 80's headboard had to go. So I didnt' have much to spend decided to get creative and upholster a headboard. I don't have a before picture since I try to block out the memory of that ugly headboard, but just imagine the ugliest most 80's black metal headboard with an odd shape ever and you pretty much see what we had.


Ahhh. The bed feels like a much more welcoming place now!
If you're interested in making your own headboard it is so simple. There are lots of links out there to show you how. Centsational Girl has a great tutorial to show you how. Go check it out!

Sweet Little Bird Craft

Have a wreath you want to dress up, a cat you want to make a toy for? This cute bird pattern from Spool.


All you need is some fabric scraps, a needle and thread scissors and some batting to fill it.


Next cut out the patterns and pin them to your fabrics and cut them out.


Once you have your pieces cut out make sure that you mark the dots for sewing.

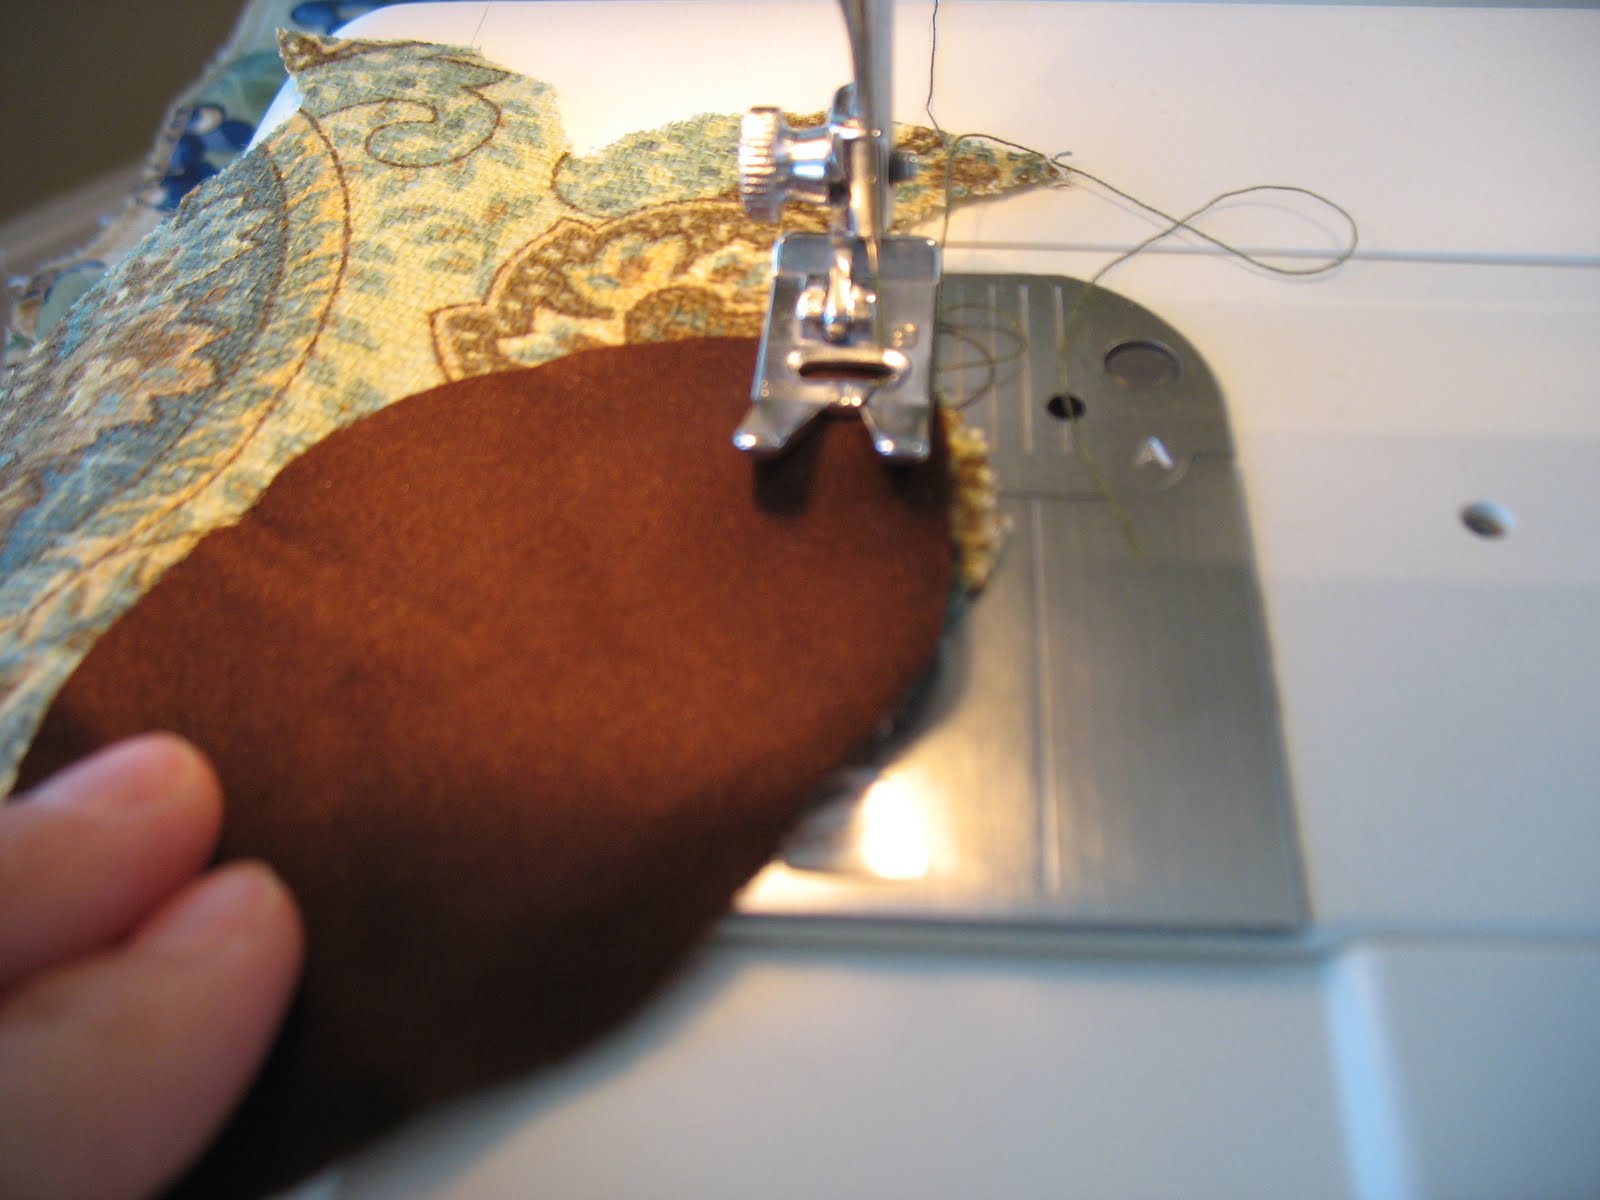
Now pin the pieces (right sides facing each other) and sew between the dots leaving the tail open.


Sew together the top part of the head, turn the bird inside out and stuff it to suit. Once you have turned the bird inside out turn the raw edges to the inside, pin it and stitch the opening shut.
Ta da! You now have a cute bird that you can attach to a wreath or let you imagination go wild with what you can use it for :)


LinkWithin

Related Posts with Thumbnails